Shrinky Dinks are one of my favorite crafts! I love them because you can turn your own drawings into keychains or jewelry. There is a way to create these things out of plastic from your recycling bin. So, after using your plastic water bottle to stay hydrated in the summer heat, it is time to repurpose it into something fun. You can use lots of other leftover plastics as well. This is such a great way to recycle!
Supplies needed
*NOTE: Adult supervision is required for this craft
one-time use plastic (look for the recycling label with #1 or #6)
– scissors
– hole punch
– permanent markers
– tin foil
– baking tray
– oven/toaster oven
– spatula (the flat kind that can withstand heat) string/ribbon
Steps
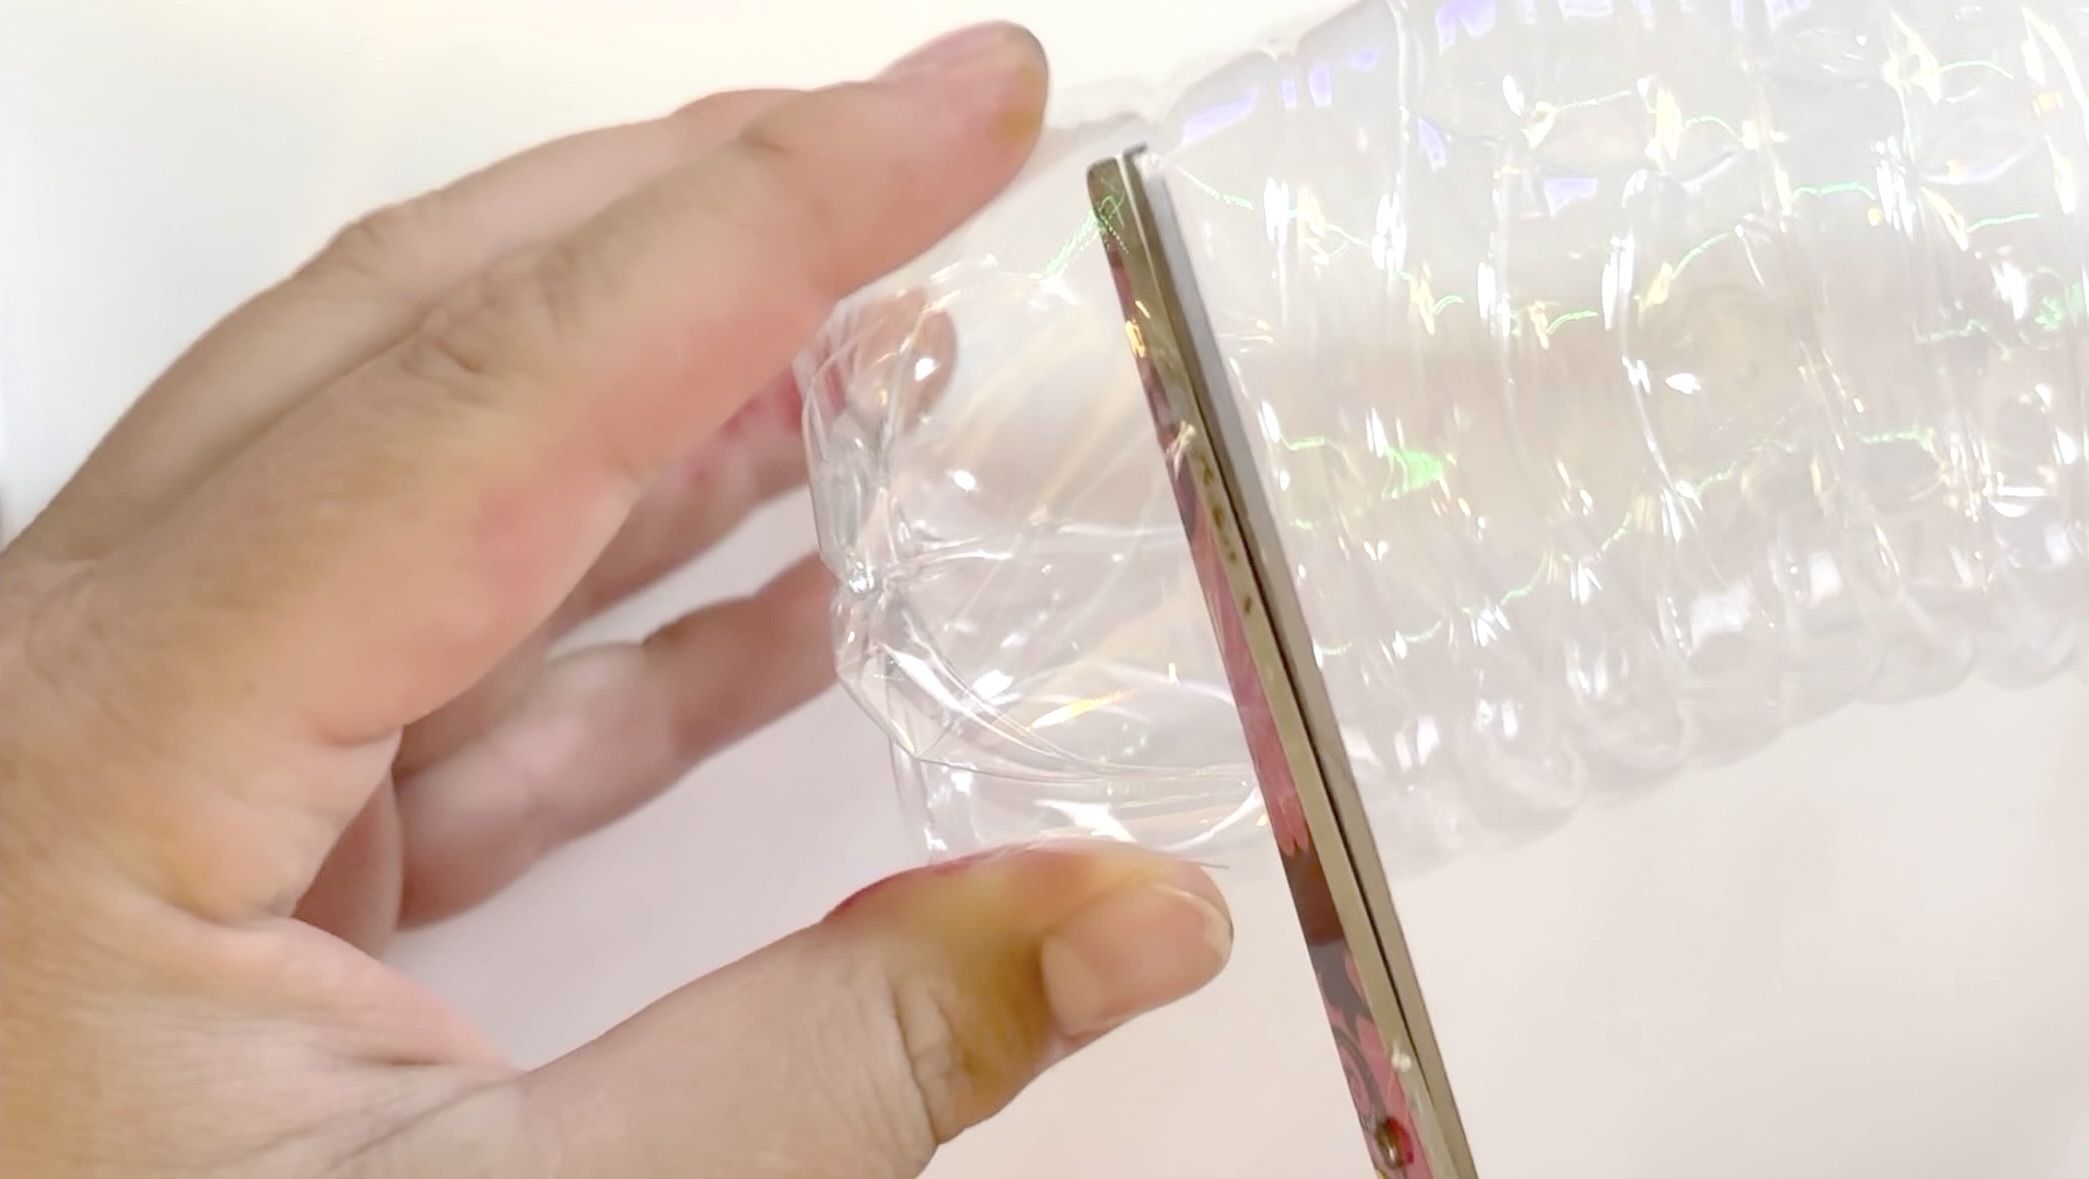
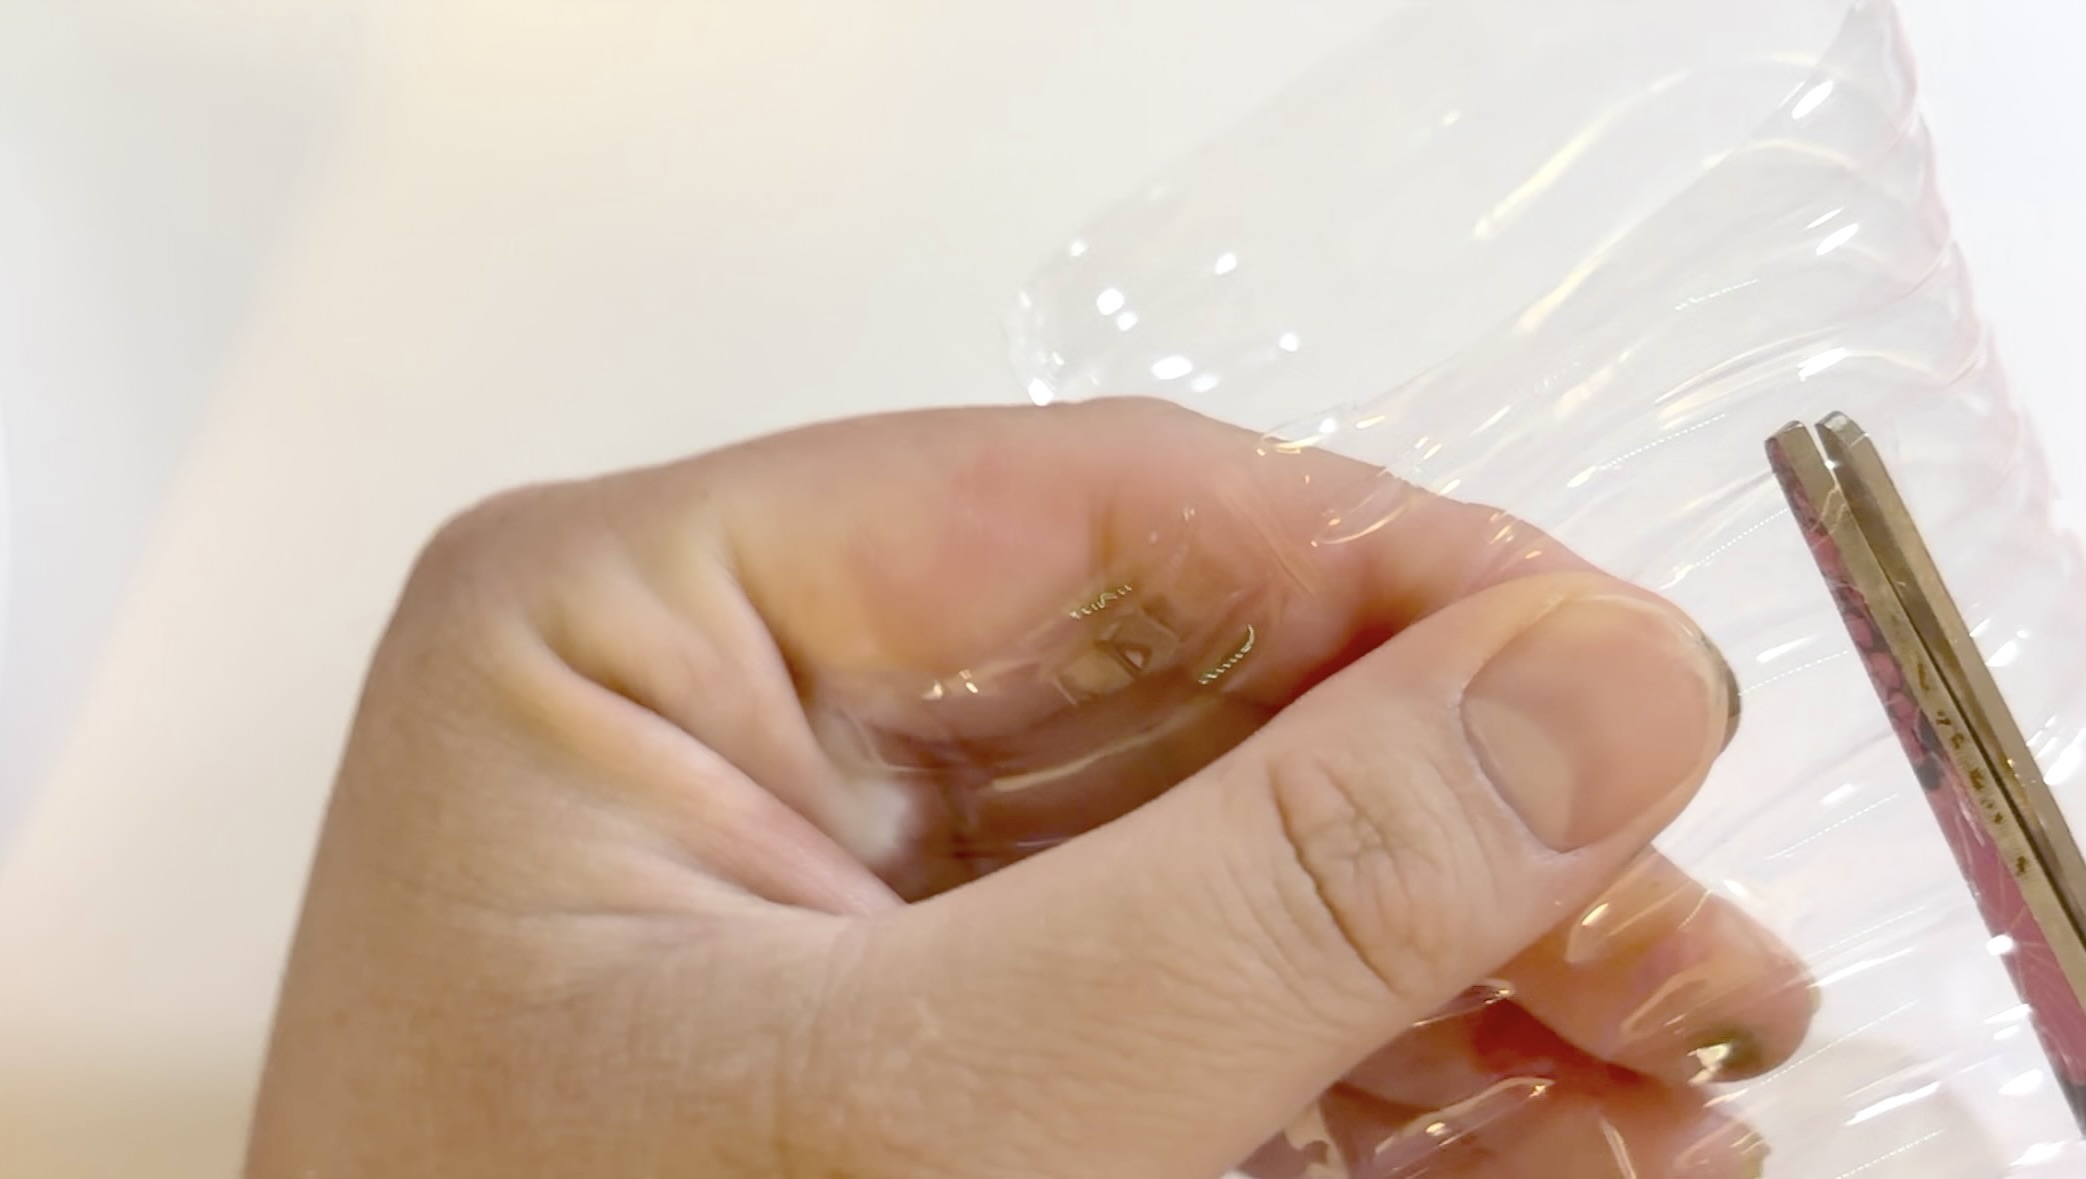
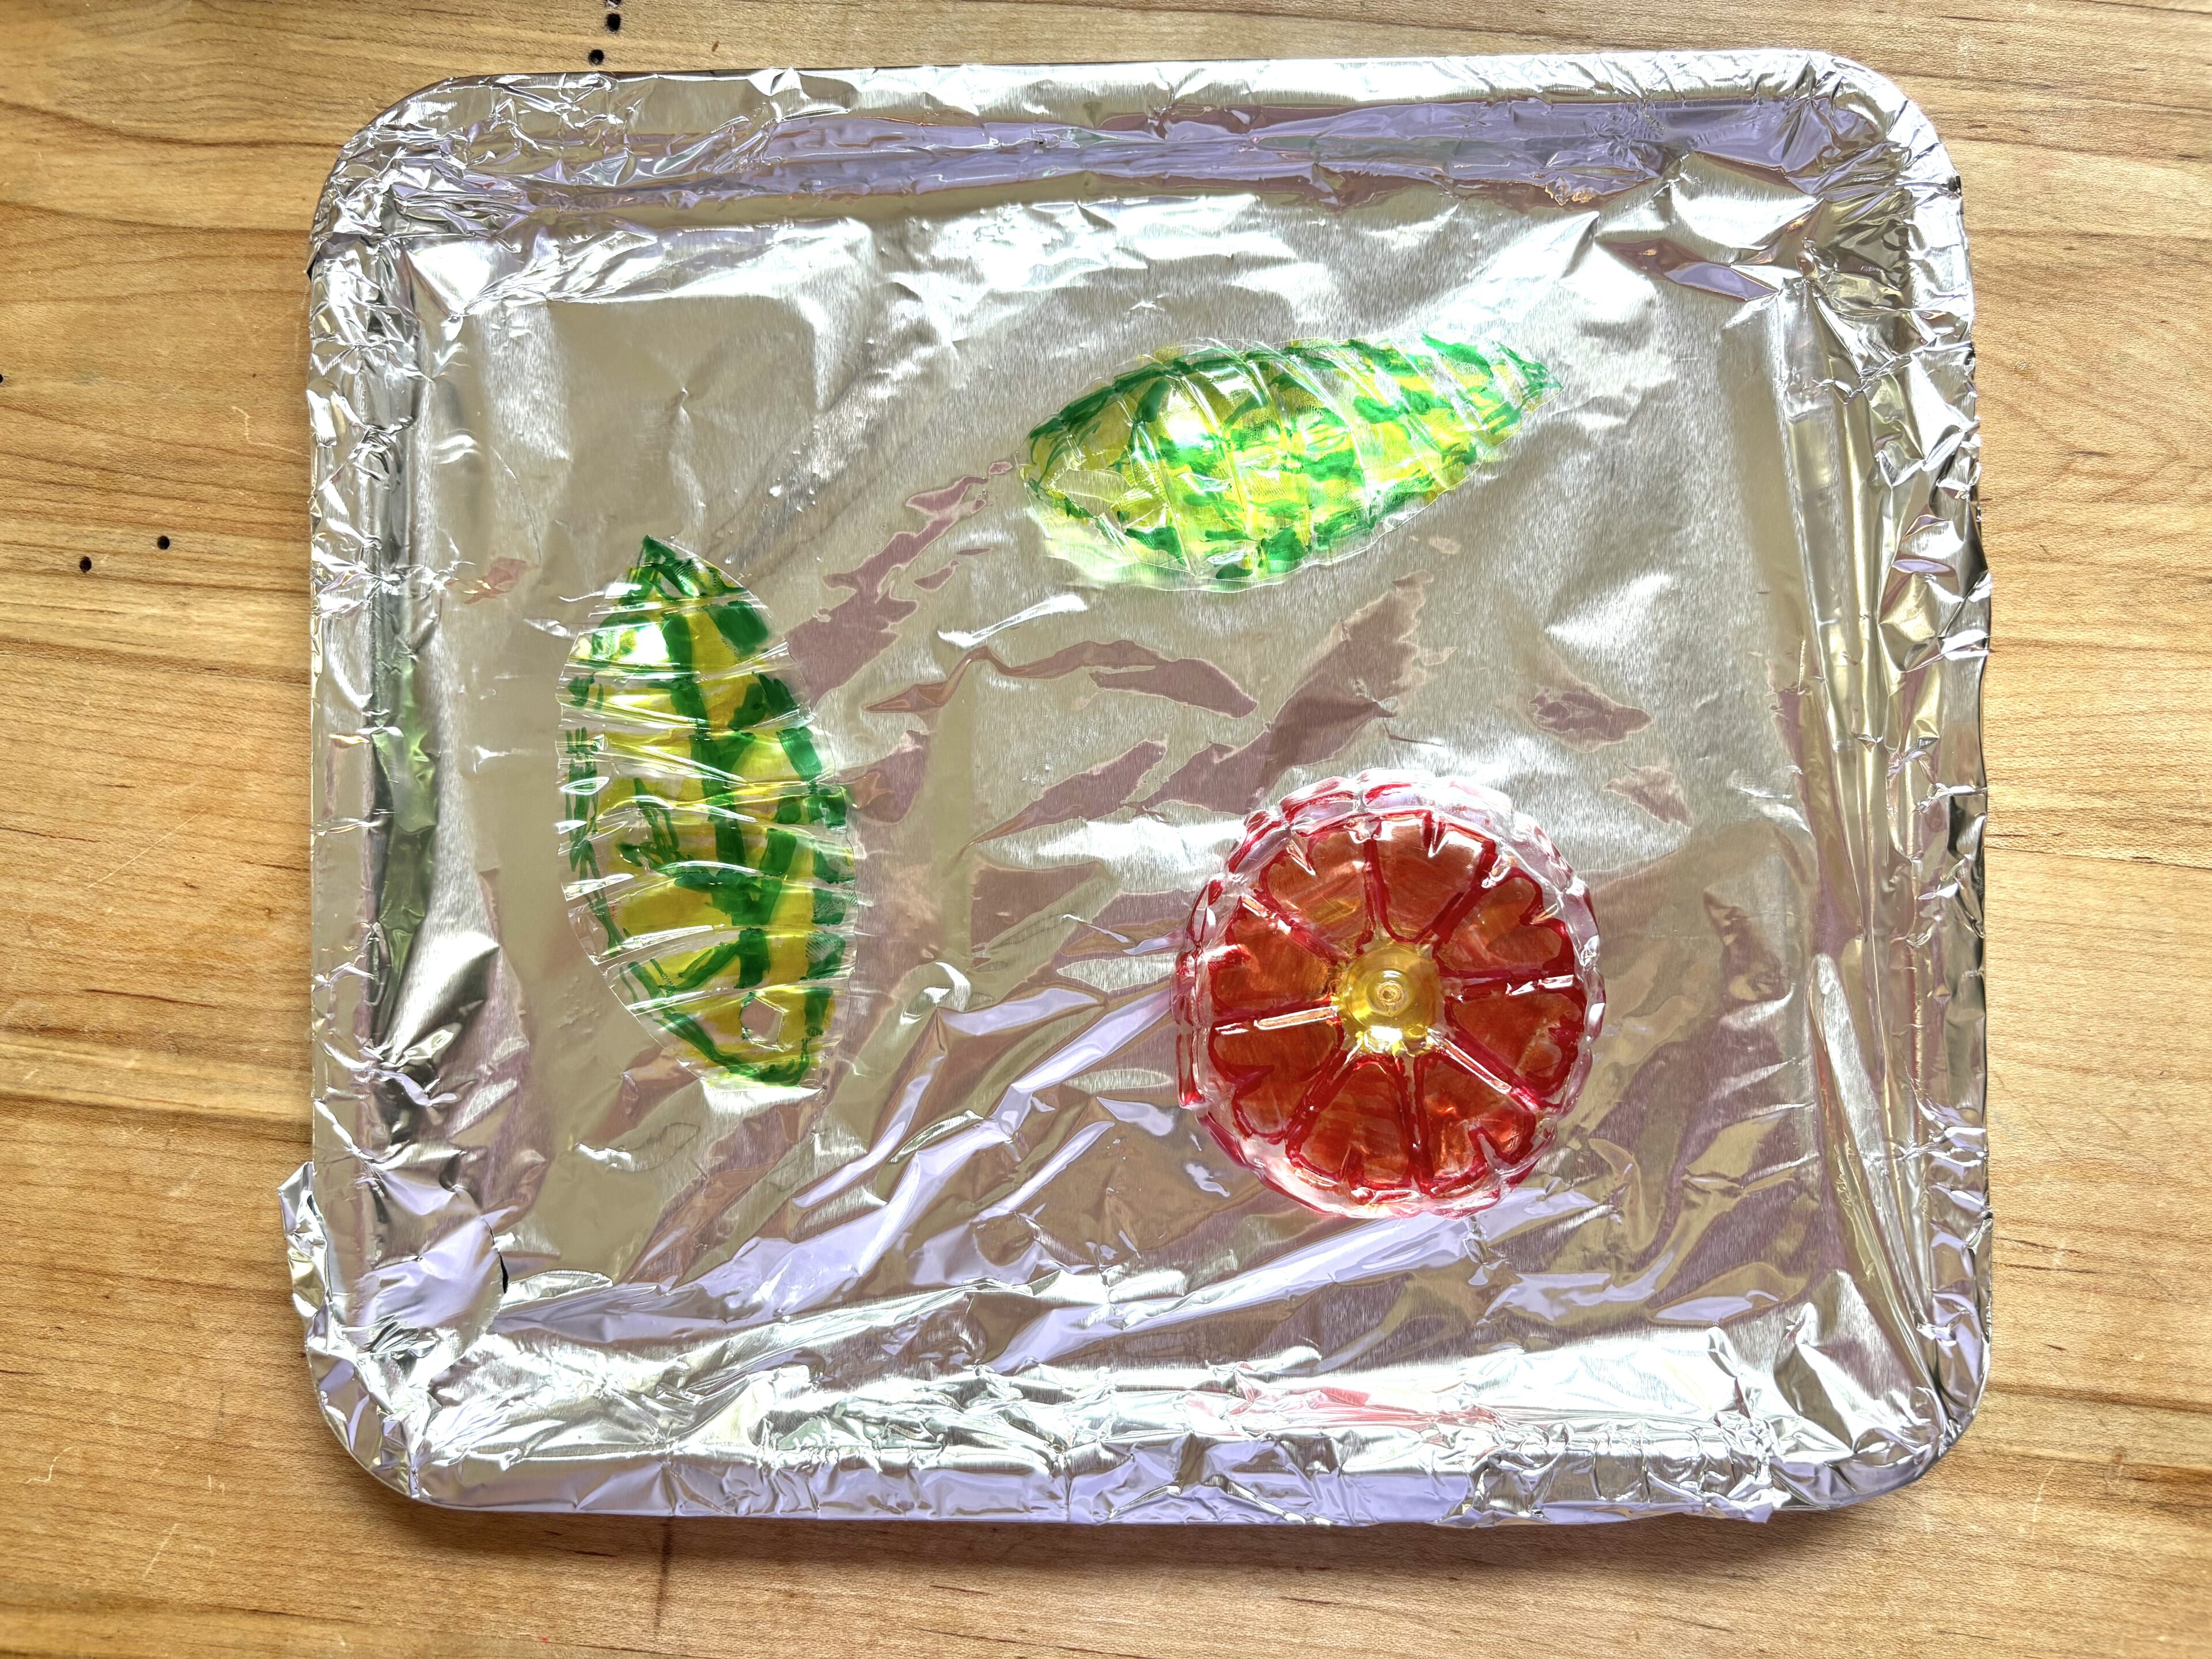
- Cut your plastic into different shapes.
a. Keep in mind that the plastic is going to shrink super small, so do not cut shapes any smaller than a quarter.
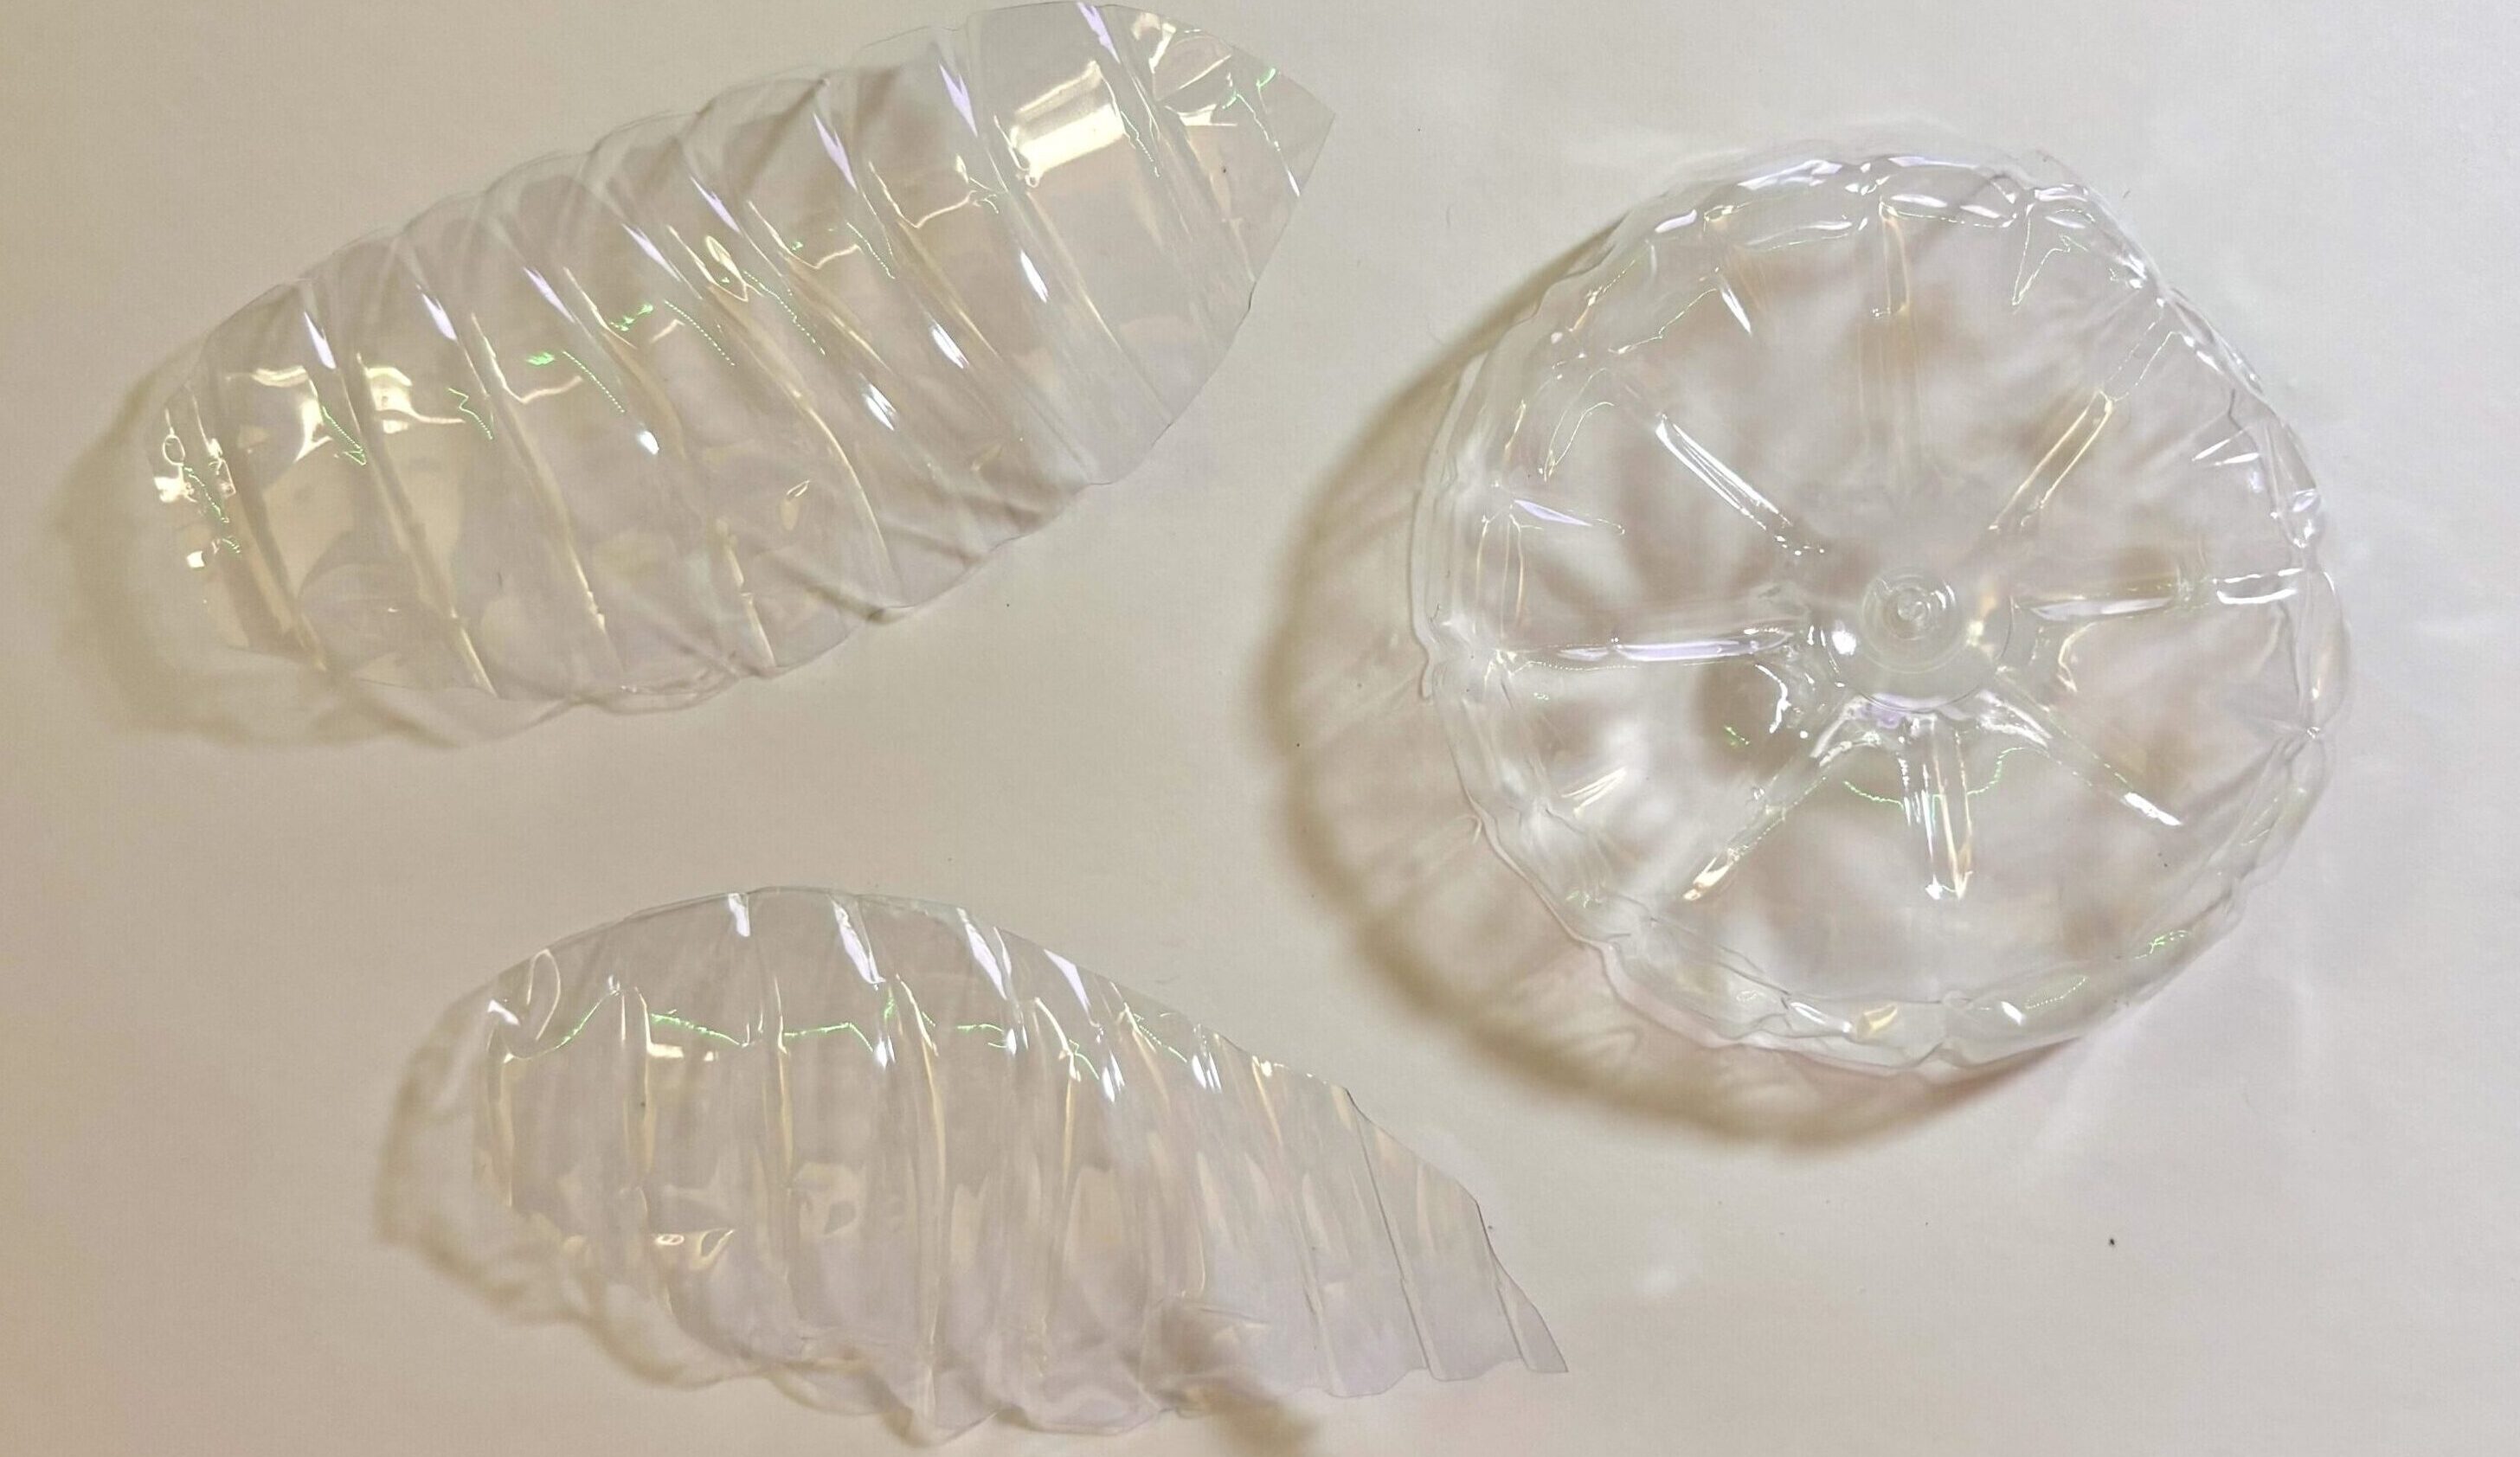
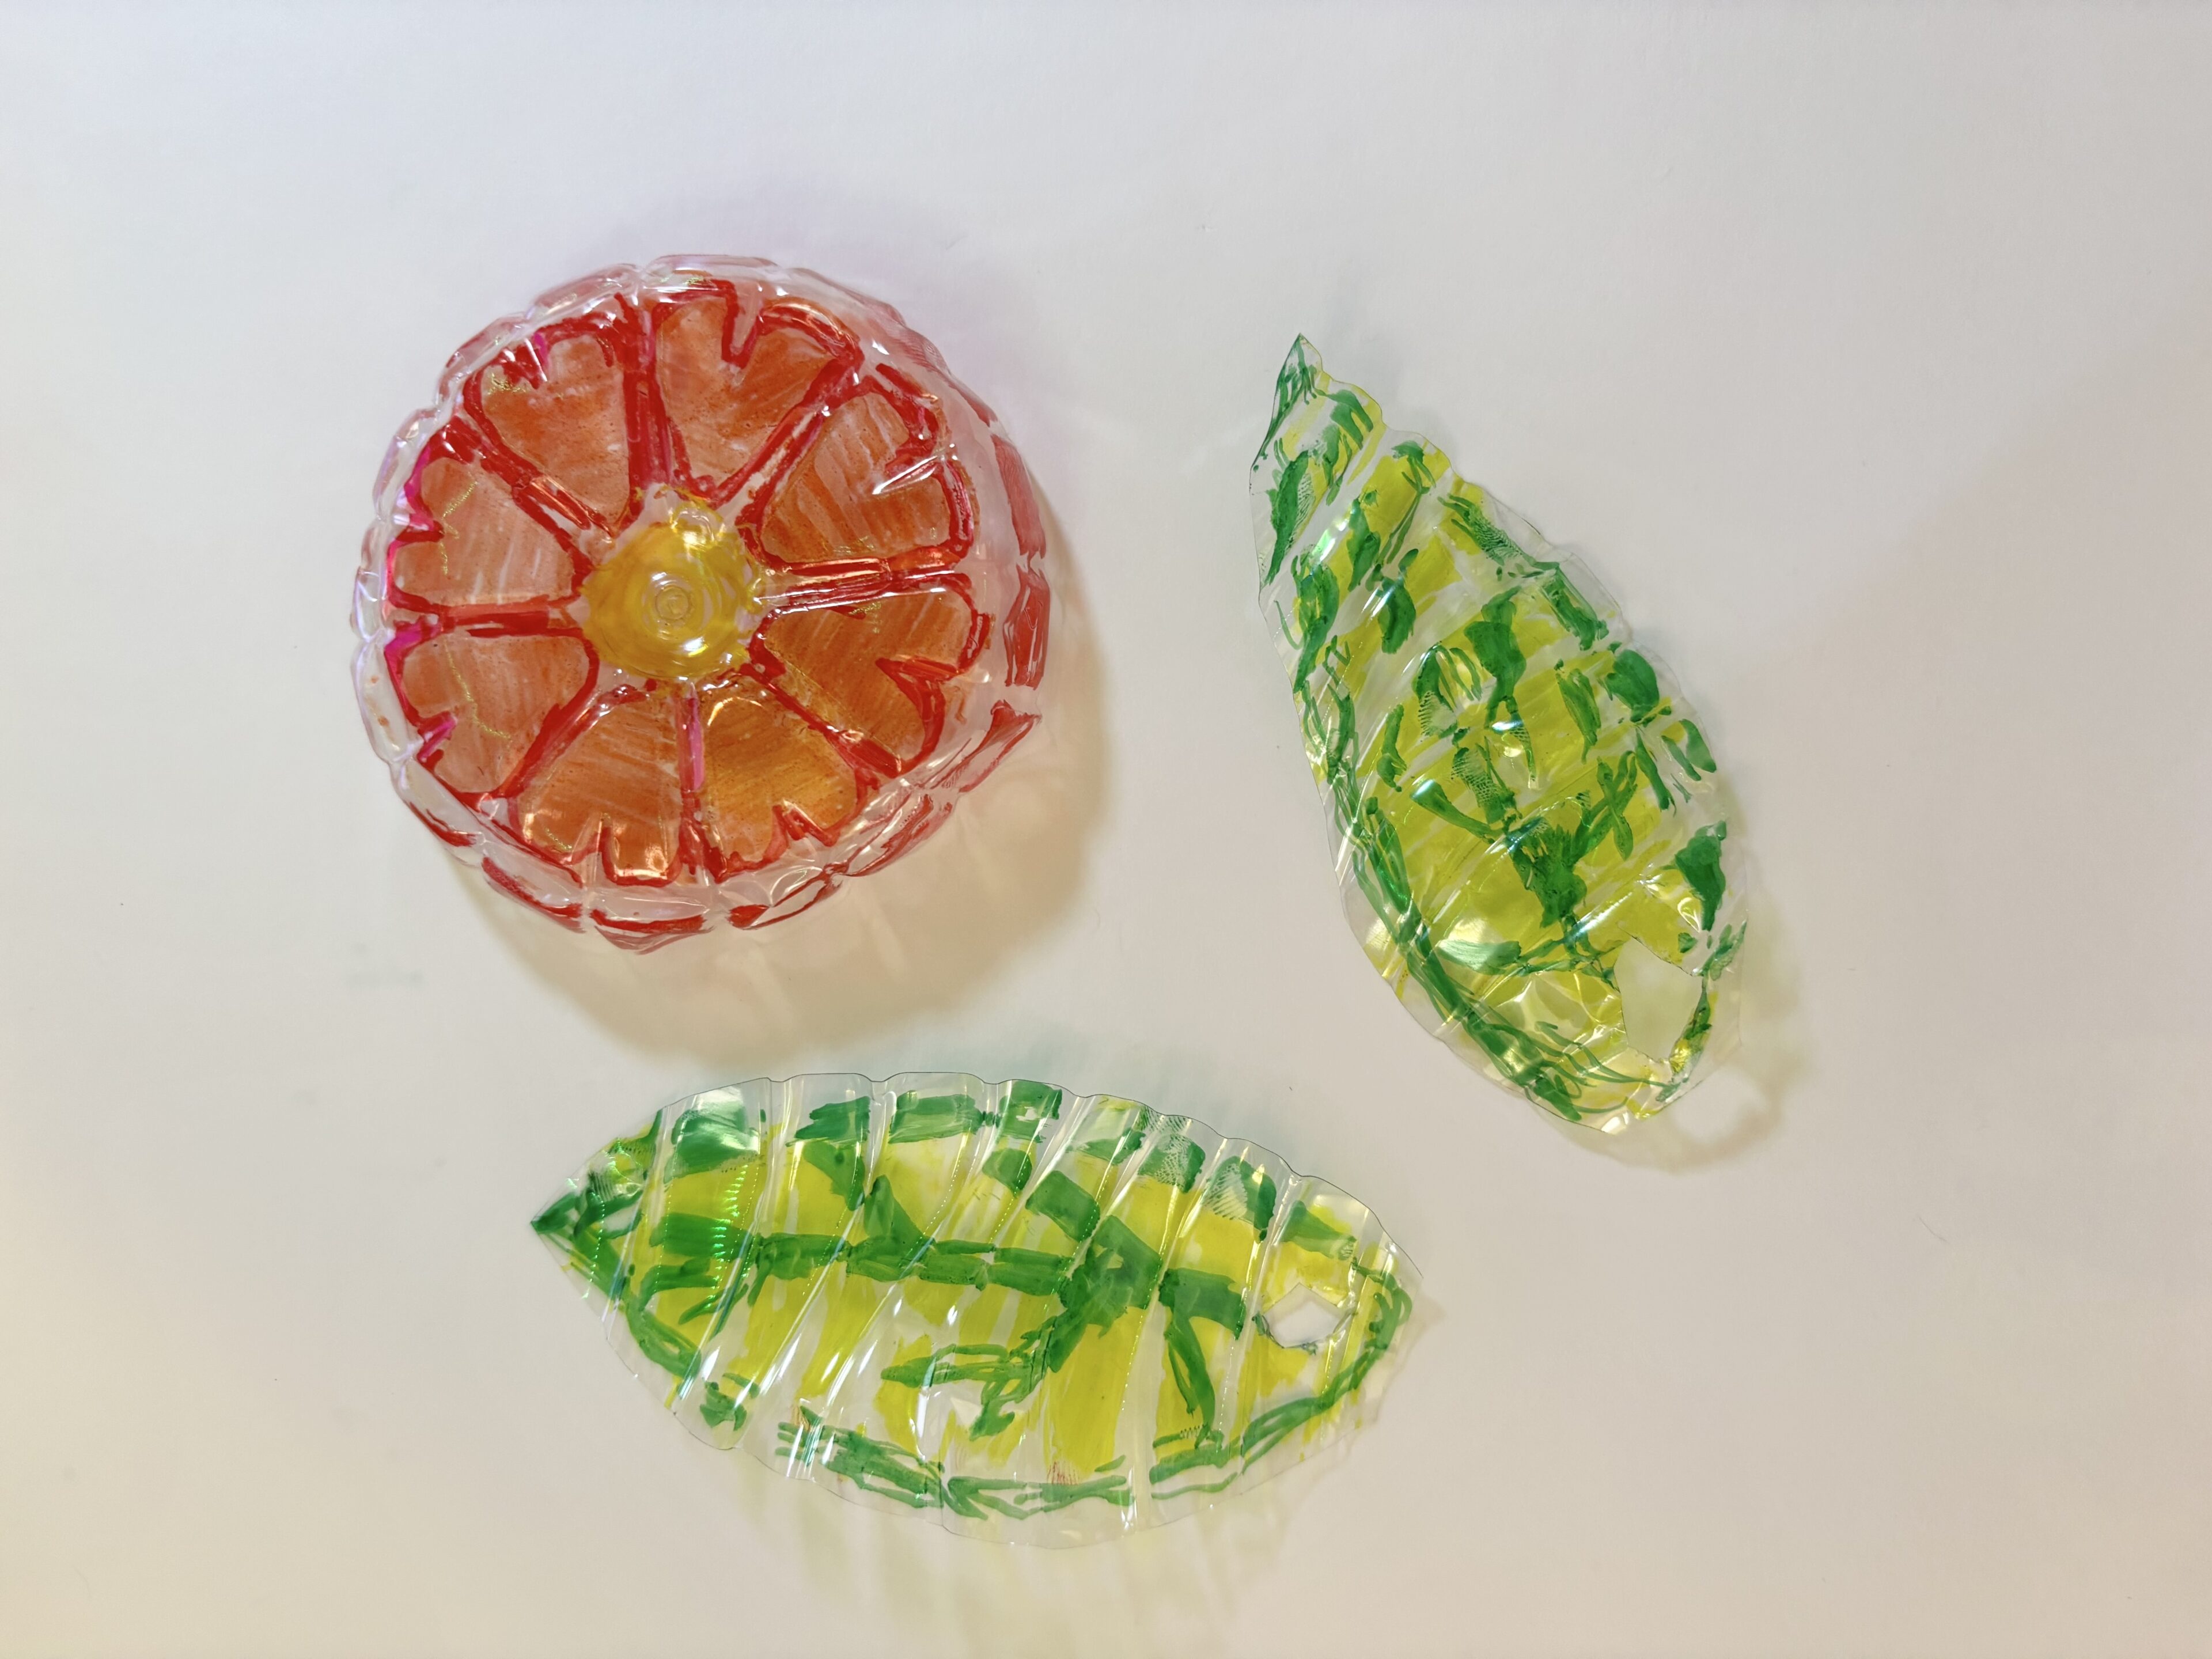
b. You can use all parts of the plastic to make unique pieces, for example, the bottom of a plastic bottle can resemble a flower.
2. Use permanent markers like Sharpies to draw on the plastic.
3. If you want to make your art functional to wear as a necklace or put on a keychain, be sure to use the hole puncher BEFORE shrinking. If you do not have a hole puncher, you can use scissors to cut a hole.
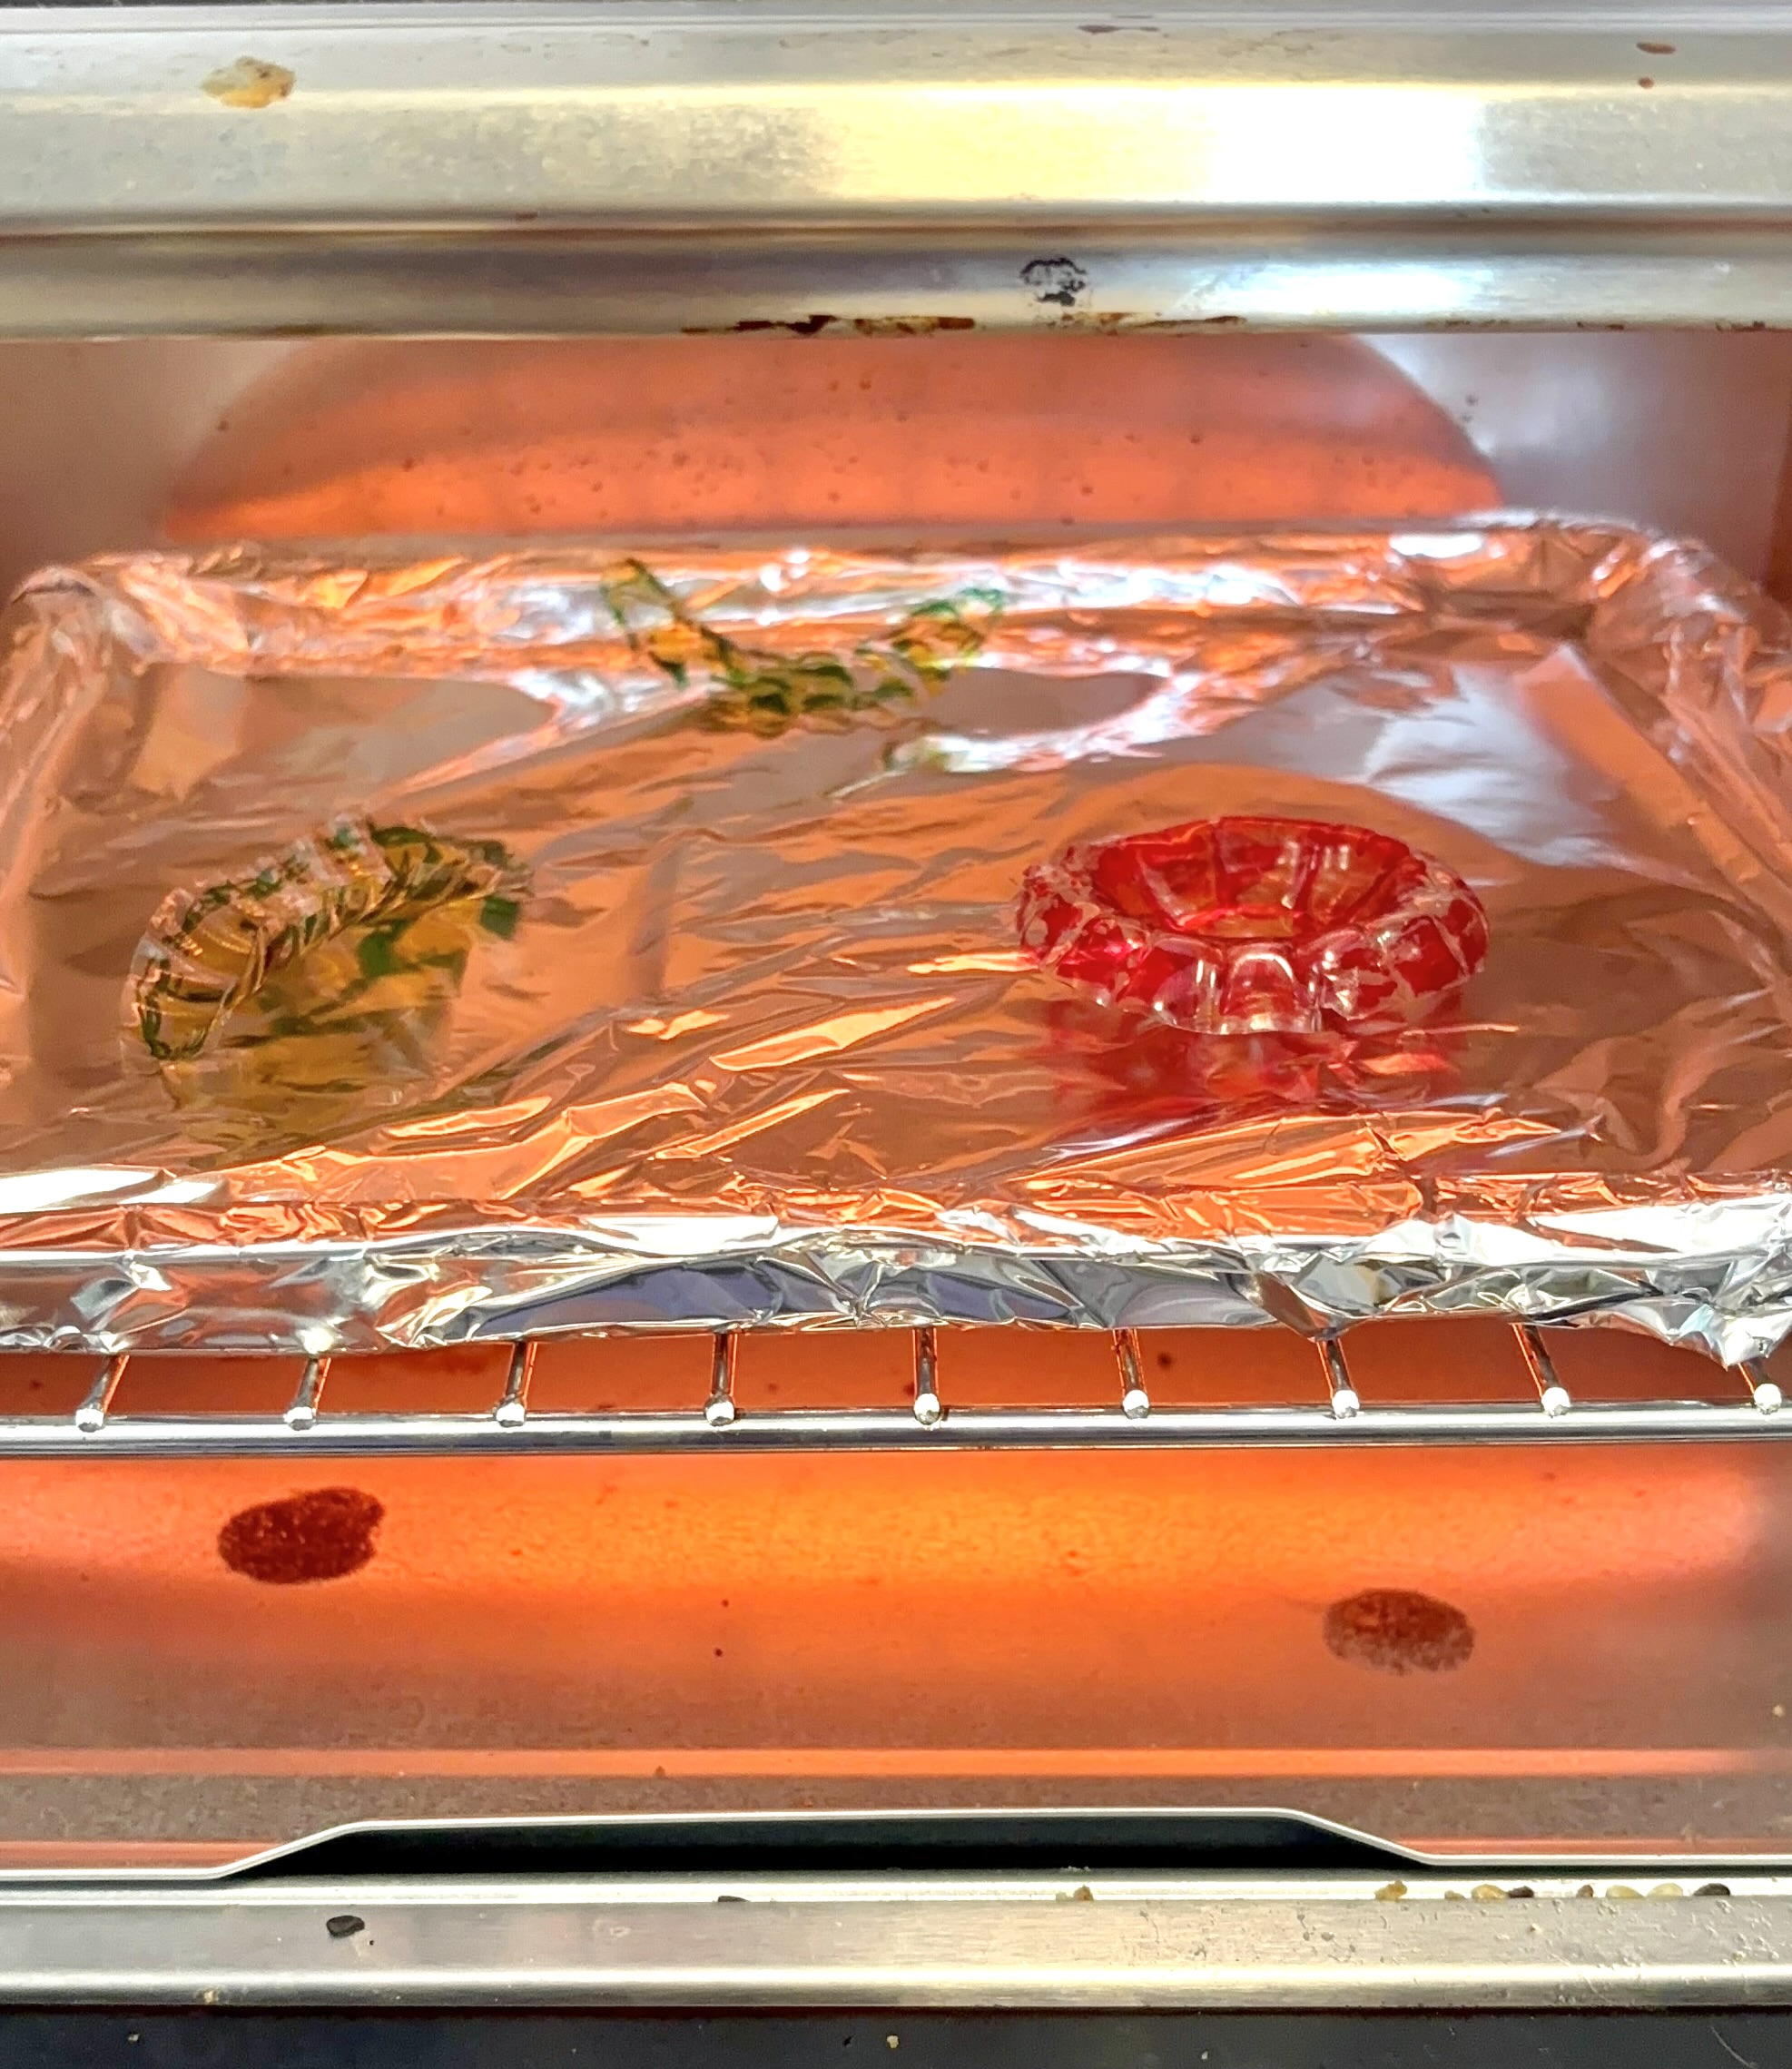
4. Preheat the oven to 350° – NOTE: Melting plastic can create fumes, so make sure you do this in a well-ventilated area. You can wear a mask for extra protection.
5. Cover the baking tray with tinfoil.
6. Place your creations on the tray, making sure they do not touch.
7. Watch as your creations shrink. Baking time may vary depending on the thickness of the plastic (approximately 2 minutes).
8. Once the pieces stop shrinking, use a pot holder to remove the pan from the oven.
a. Use the spatula to flatten the plastic if it curled while baking.
b. Use the spatula to take the art off the tray to avoid getting burned.
9. Once the plastic is cool, use string to turn your creation into a necklace or a keychain.
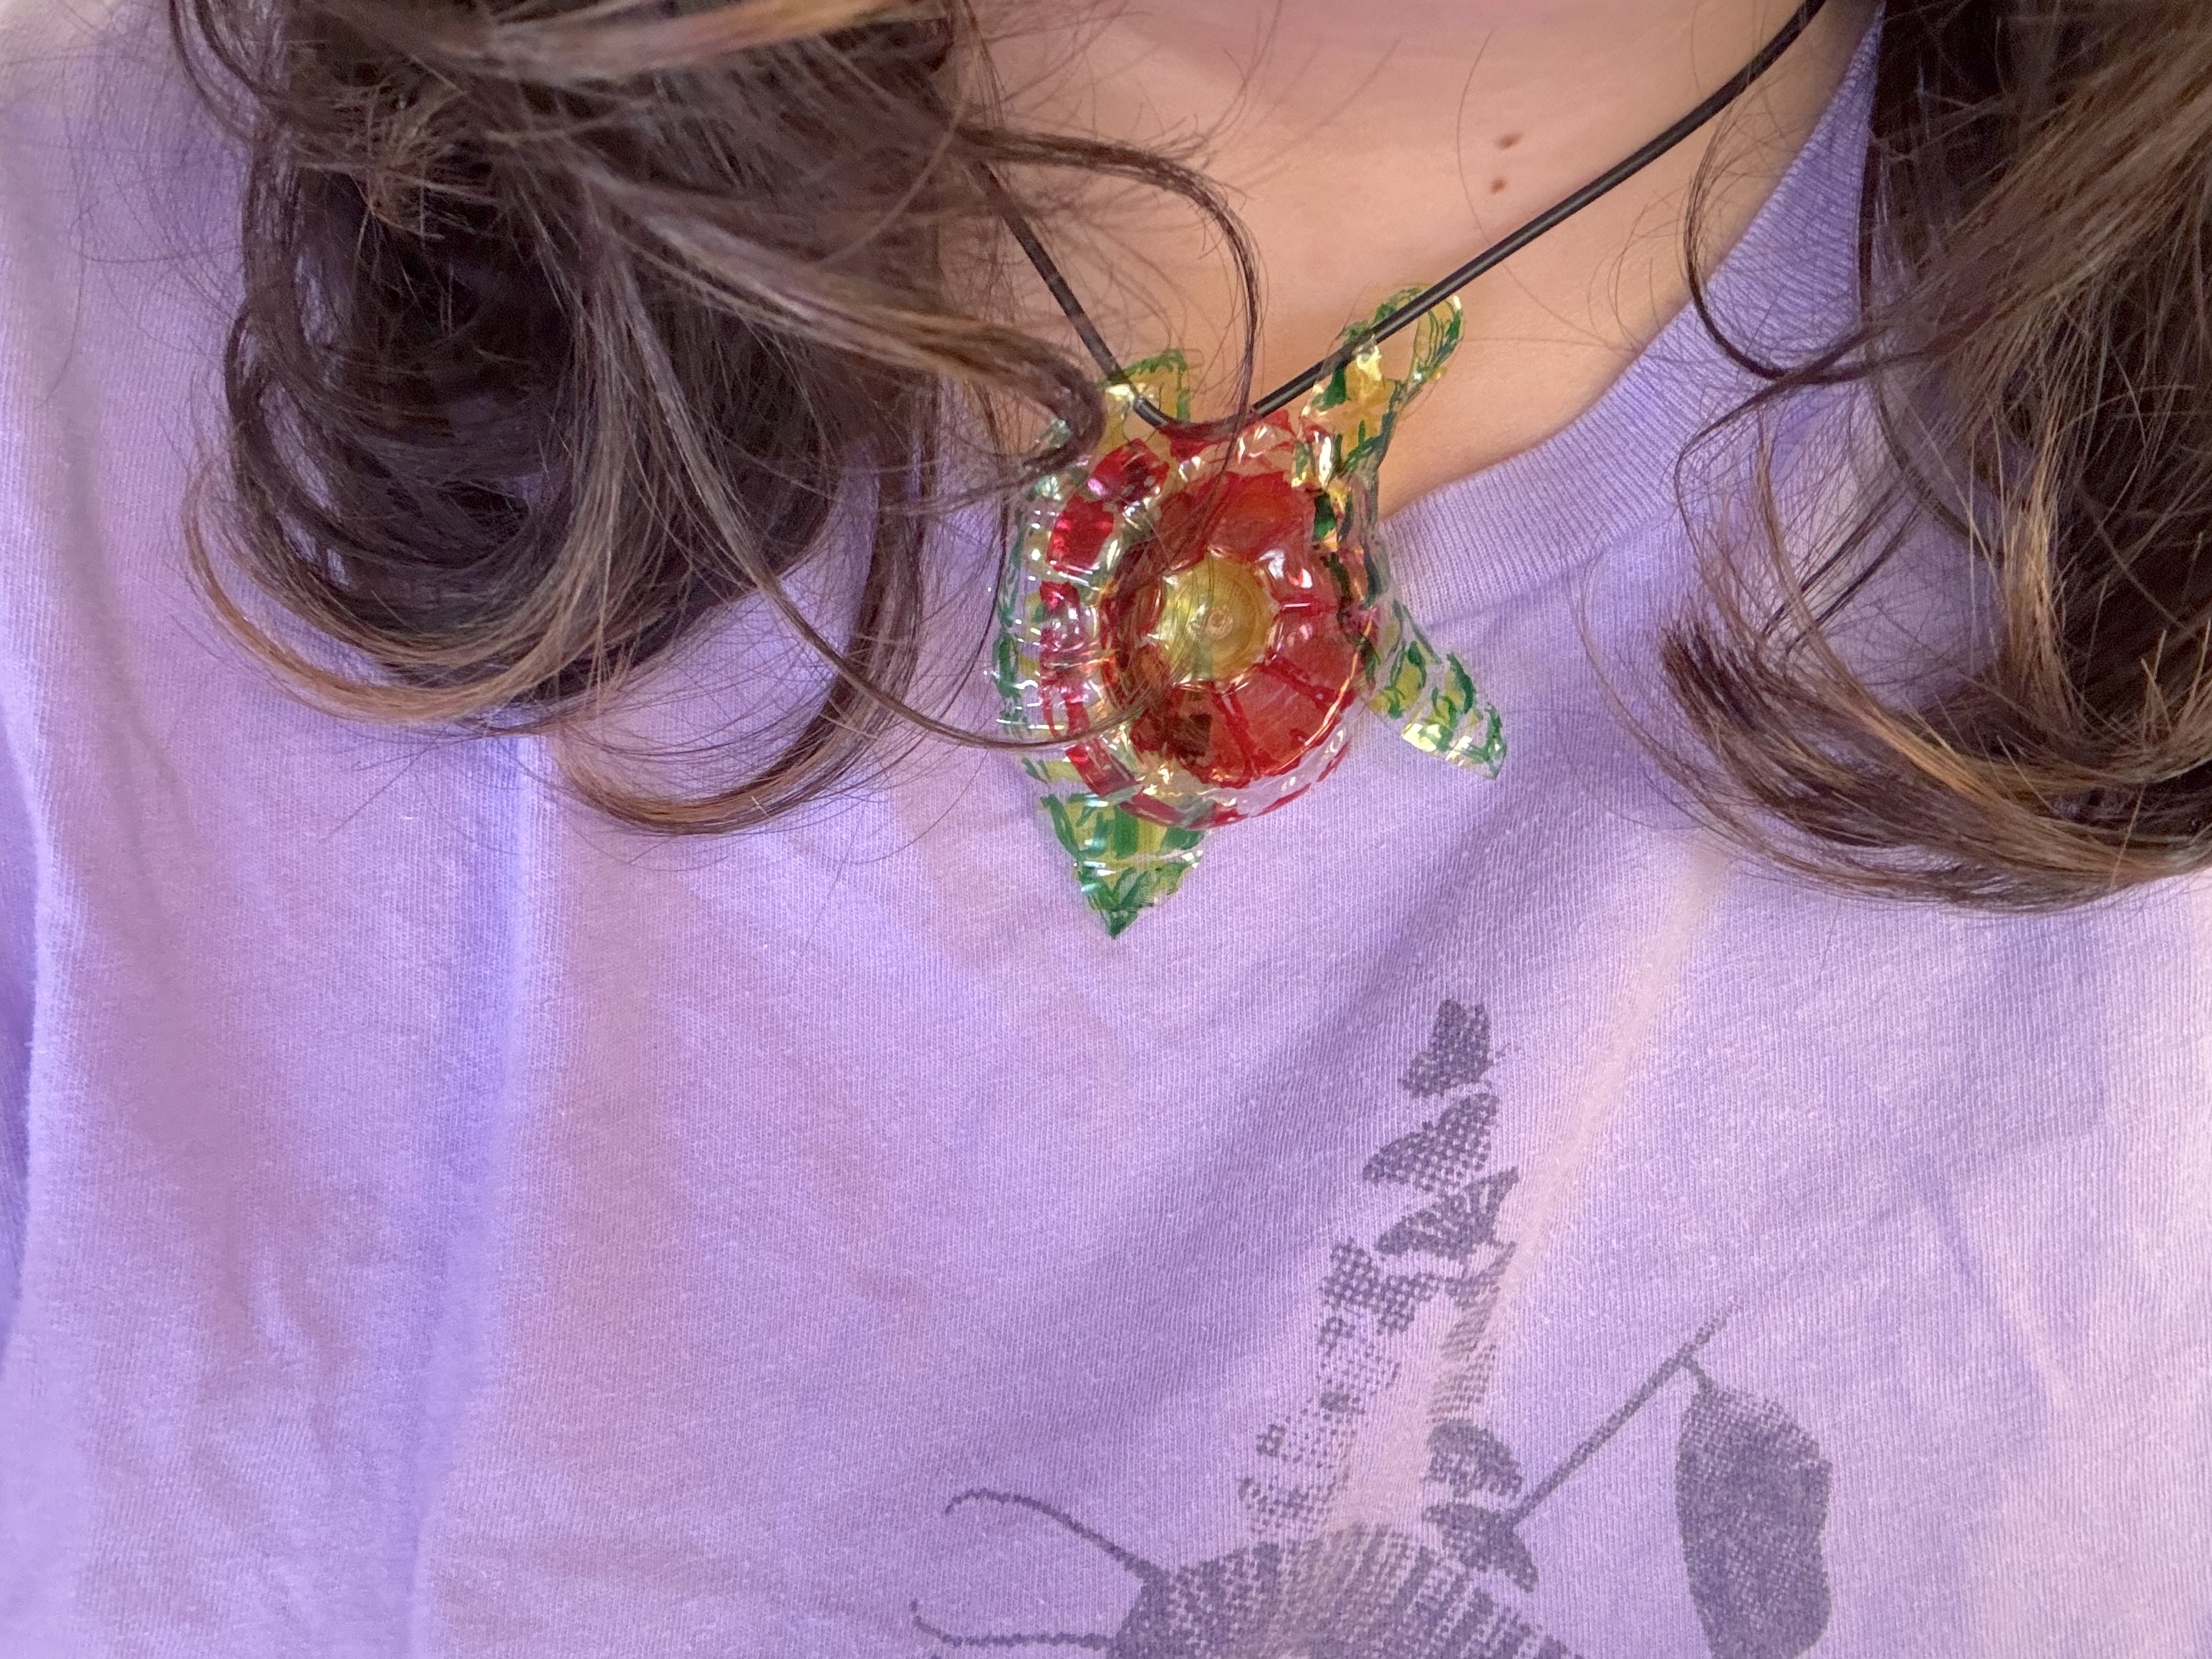
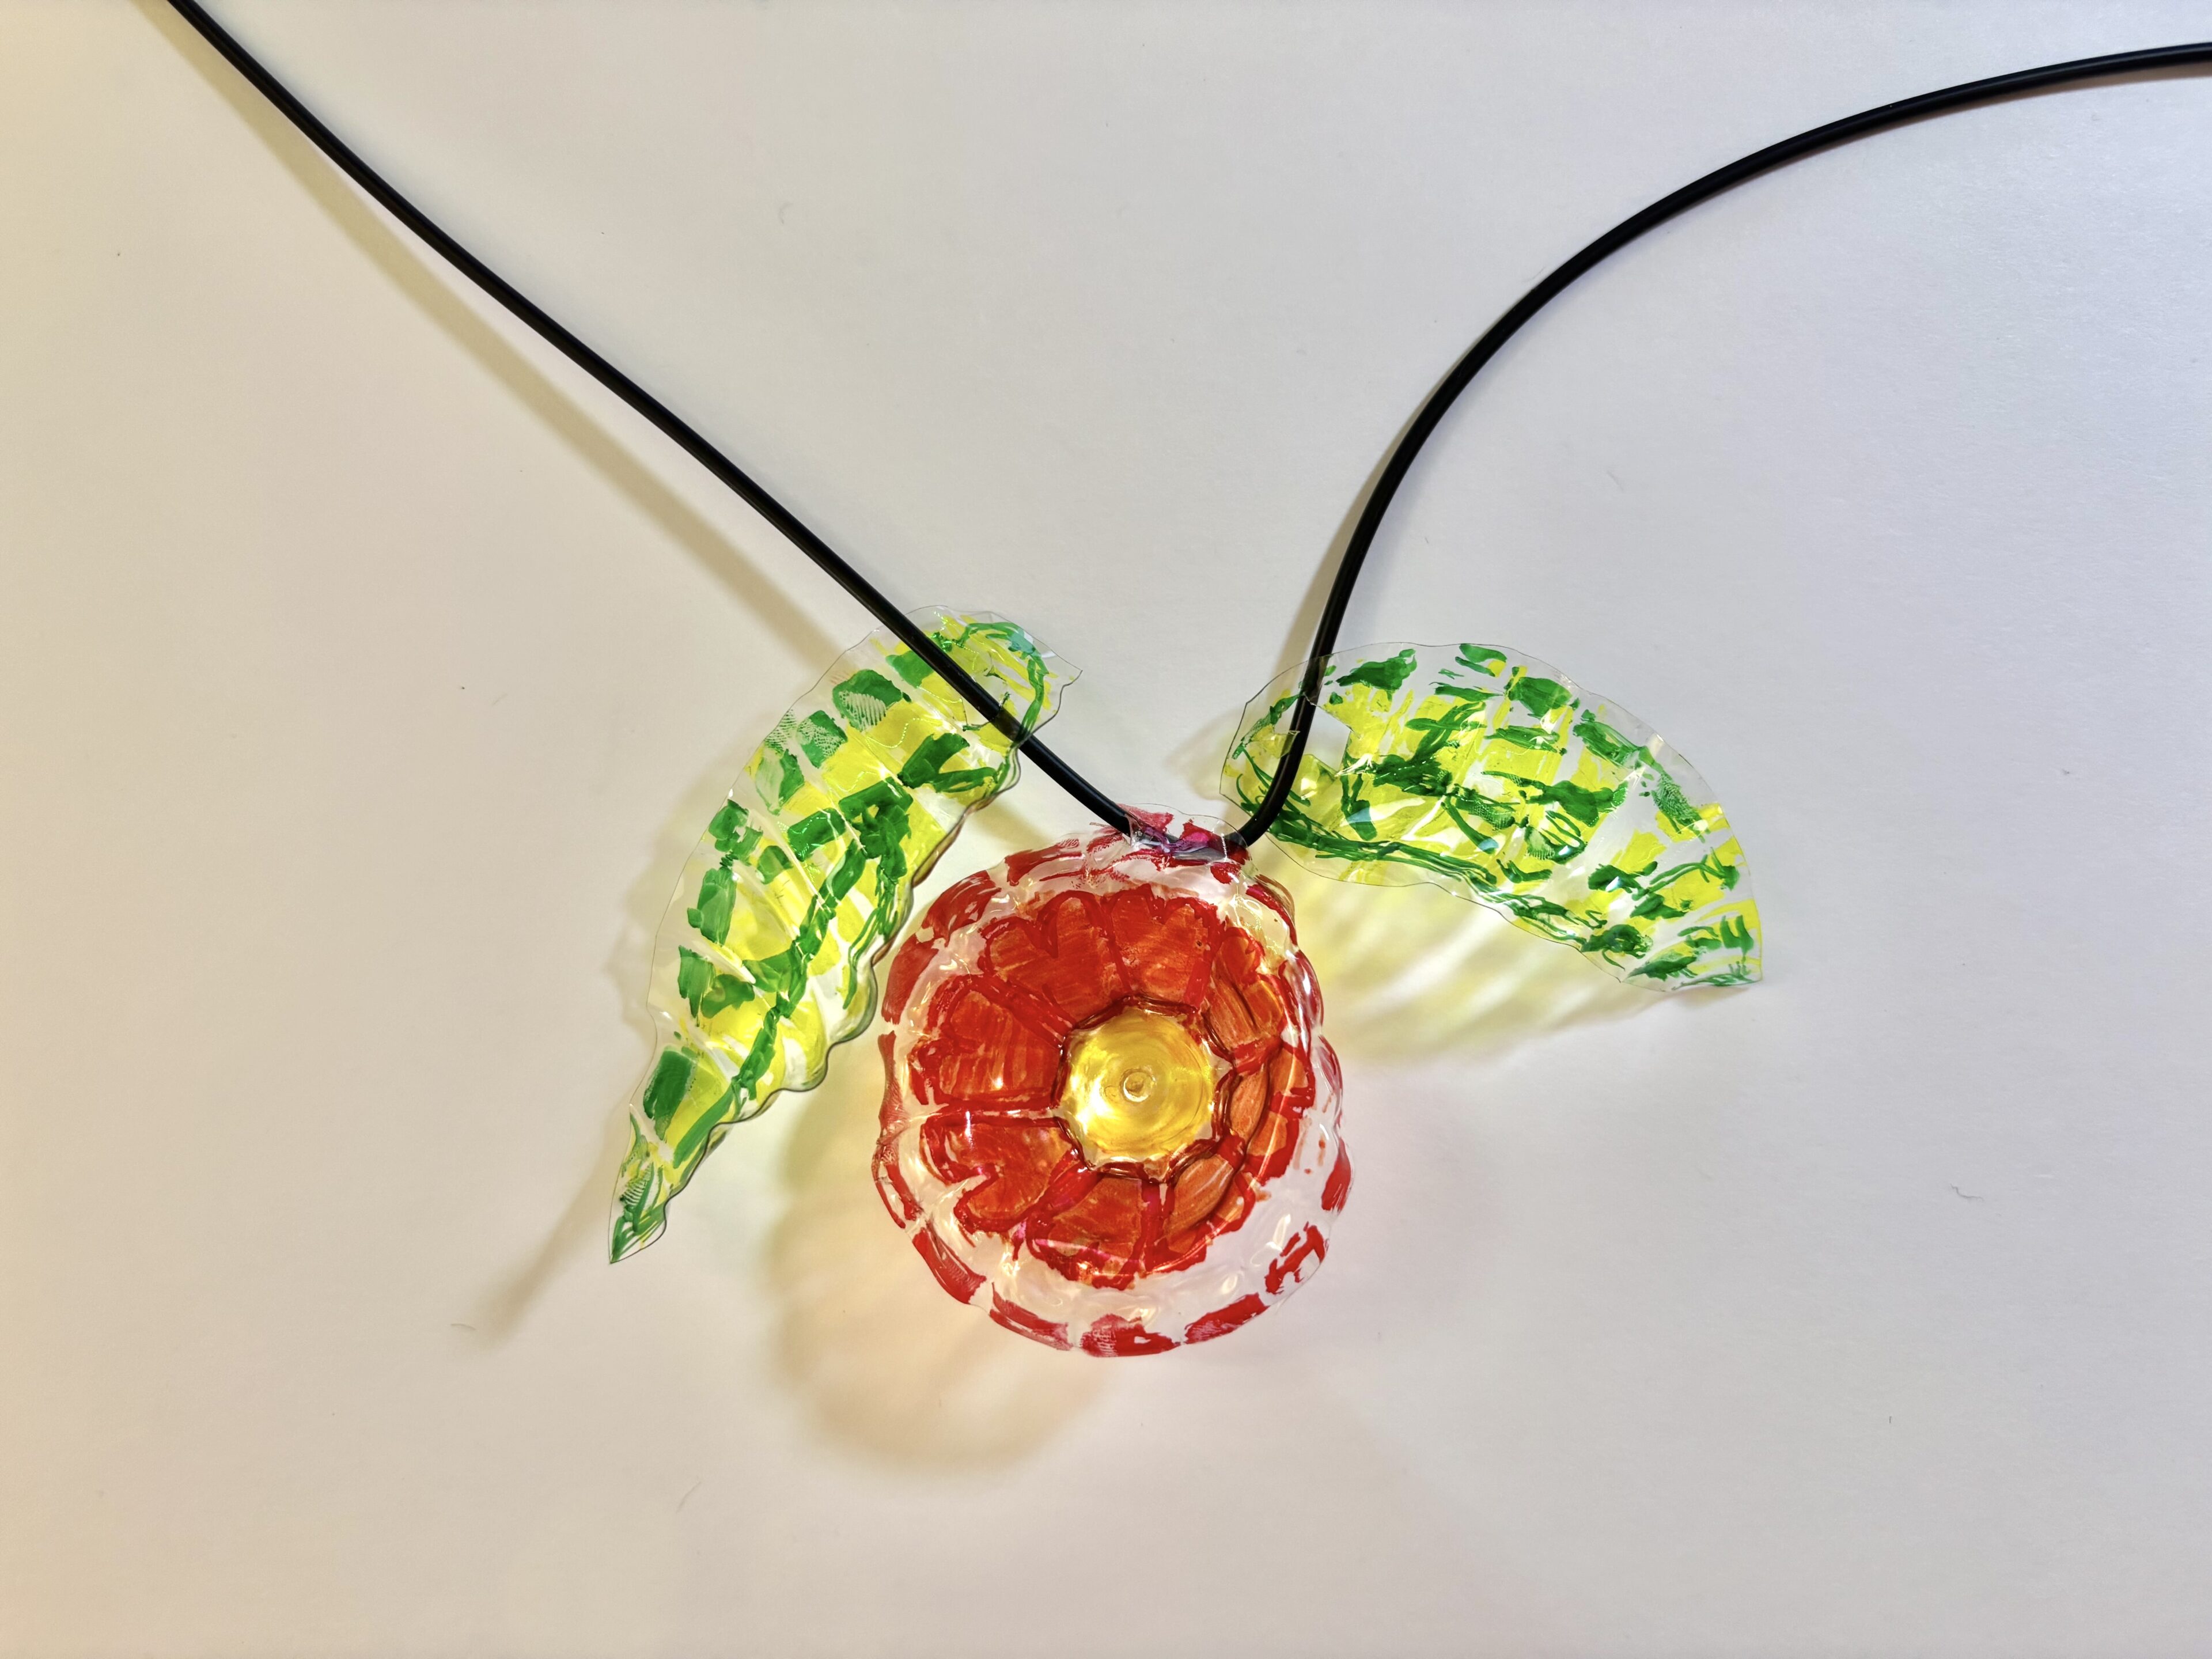
Enjoy your at-home take on shrinky dinks! I hope you were able to make some cute jewelry or trinkets.
Maybe you will be able to wrap up your day with a snack like we do at camp. A favorite of all the campers is s’mores, and there is an at-home version that doesn’t require a campfire.
In order to make these at-home s’mores, you will need graham crackers, marshmallows, and some type of chocolate spread, like Nutella. When my family doesn’t have these ingredients, we sometimes put peanut butter on saltines and top with a marshmallow.
Bake them the same way for a salty and sweet treat.
Use a knife to spread the chocolate spread on a graham cracker. Place a regular-sized marshmallow on top of the chocolate. Place finished s’mores on a baking sheet. I like to cook mine in a toaster oven. Set the toaster oven to the toast setting. Cook your s’mores until the marshmallows become brown on top, about 5 minutes. Wait a minute before enjoying, they will be quite hot.


